Slayer
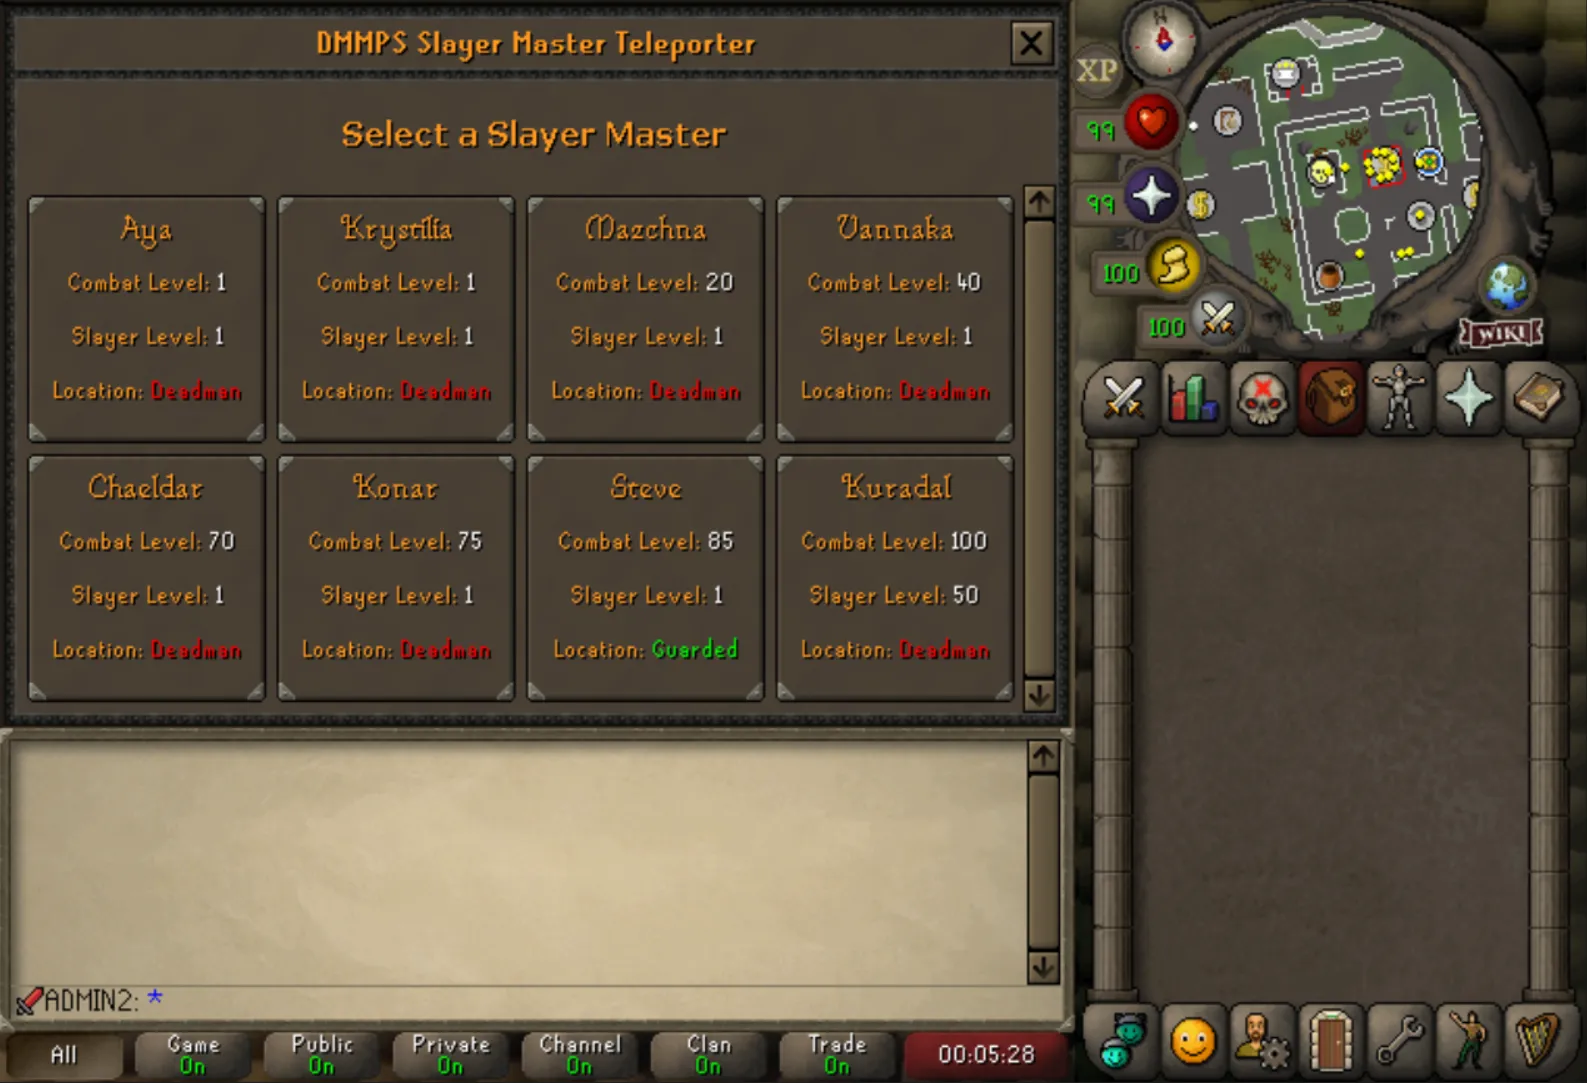
Slayer tasks reward Slayer points, coins, DMM points, and access to task-specific drops. You can choose regular assignments, Wilderness assignments from Krystilia, or area-specific assignments from Konar.
Slayer Task Rewards
| Slayer master | Slayer points per regular completion | DMM points |
|---|---|---|
| Turael / Aya | 0 | 5 |
| Mazchna | 6 | 10 |
| Vannaka | 12 | 50 |
| Chaeldar | 30 | 80 |
| Steve / Nieve | 36 | 100 |
| Duradel / Kuradel | 45 | 100 |
| Konar | 54 | 100 |
| Krystilia | 75 | 150 |
Streak Bonuses
Slayer-point streak bonuses multiply the points from a completed task:
- Every 10th task: 5×
- Every 50th task: 15×
- Every 100th task: 25×
- Every 250th task: 35×
- Every 1,000th task: 50×
Archaic Emblems on Task Completion
The task-completion emblem roll is shared across every Slayer master—no master has a better emblem rate than another.
- An ordinary completion has a 1/5 chance to award an Archaic Emblem.
- When it succeeds, the emblem is normally tier 1, with a 1/25 chance of being tier 5.
- Every 10th task guarantees an emblem and improves the tier-5 chance to 1/10.
Wilderness Slayer
Krystilia assigns Wilderness tasks and awards the highest ordinary Slayer-point reward: 75 Slayer points per completed task, plus 150 DMM points.
- Eligible monsters killed in the Wilderness during a valid Krystilia assignment can drop Larran's keys.
- The Larran's-key chance scales with the monster's combat level, so there is no single universal drop rate.
- Keys open the small and large Larran's chests for additional loot.
- Wilderness Slayer also improves your chance of encountering a Superior Slayer monster—see Superior Slayer.
Regular Slayer
Regular assignments are the safer way to build Slayer levels and collect powerful task-locked gear, including:
- Abyssal whip
- Occult necklace
- Trident of the seas
- Many other high-level Slayer uniques
Some regular tasks still send you into dangerous areas, so check where your target lives before you commit your gear.
Konar and Brimstone Keys
Konar assigns a creature and the area you must kill it in. Kills only count toward the task inside that specified area.
- Eligible kills can drop Brimstone keys, at a chance that scales with the monster's combat level.
- Brimstone keys open the Brimstone chest, which contains extra loot.
- Opening the Brimstone chest also awards 200 DMM points.
Superior Slayer
Superior Slayer monsters are one of the strongest reasons to keep a task running on DMMPS. A superior is a tougher version of your assigned monster that rolls far more loot than the ordinary form.
Requirements
- You must have unlocked Bigger and Badder.
- The kill must match your current Slayer assignment, including any required task area.
- Only configured monsters can transform into a superior.
- Only the player who spawned the superior can attack it.
Spawn Rates
| Situation | Standard rate | With Elite Combat Achievements |
|---|---|---|
| Normal area, brackets 1–4 | 1/100 | 1/75 |
| Wilderness, brackets 1–4 | 1/90 | 1/67 |
| Normal area, bracket 5 | 1/75 | 1/56 |
| Wilderness, bracket 5 | 1/67 | 1/50 |
Superior Rewards
- A superior rolls the spawning monster's normal drop table three times. Always-dropped matrix entries are awarded only on the first roll.
- It also rolls the Superior Slayer unique table for an imbued heart, eternal gem, mist battlestaff or dust battlestaff. These rates scale with your DMM combat-bracket unique multiplier and may be improved further by an active Scroll of Luck.
- Every superior makes one mutually exclusive weighted roll for exactly one additional DMM reward category. The four category chances total 100%:
| Additional reward | Chance |
|---|---|
| Archaic emblem | 20% |
| Sigil | 20% |
| DMM resource bundle | 20% |
| Ancient artefact | 40% |
The emblem is tier 5 when the superior's combat level is 100 or higher; otherwise, it is tier 1. The resource bundle awards two distinct rolls from an eligible combat-scaled DMM resource subtable. Sigils retain their internal tier distribution of 50% tier 1, 40% tier 2 and 10% tier 3.
Ancient Artefact Distribution
After the 40% Ancient artefact category is selected, the artefact roll is divided into three tiers:
| Artefact tier | Conditional chance |
|---|---|
| Low tier | 40% |
| Medium tier | 35% |
| High tier | 25% |
The individual artefact chances below are conditional on the Ancient artefact category already being selected:
| Tier | Ancient artefact | Conditional chance |
|---|---|---|
| Low | Broken statue headdress | 9% |
| Low | Third age carafe | 8% |
| Low | Bronzed dragon claw | 7% |
| Low | Ancient psaltery bridge | 6% |
| Low | Saradomin amphora | 5% |
| Low | Bandos scrimshaw | 5% |
| Medium | Saradomin carving | 8% |
| Medium | Zamorak medallion | 7% |
| Medium | Armadyl totem | 7% |
| Medium | Guthixian brazier | 7% |
| Medium | Ruby chalice | 6% |
| High | Bandos statuette | 6% |
| High | Saradomin statuette | 5% |
| High | Zamorak statuette | 4% |
| High | Armadyl statuette | 4% |
| High | Seren statuette | 3% |
| High | Ancient statuette | 3% |
These individual percentages total 100% within the Ancient artefact category, not per superior kill. The overall chance per superior for any listed artefact is its conditional chance multiplied by 40%.
Don't wander off: An unattended superior can disappear. It stays for roughly two minutes while you remain nearby, or roughly 30 seconds once you are no longer nearby, as long as it is not actively fighting.
Available superior monsters
| Monster | Superior form |
|---|---|
| Crawling hand | Crushing hand |
| Cave crawler | Chasm crawler |
| Banshee | Screaming banshee |
| Twisted banshee | Screaming twisted banshee |
| Rockslug | Giant rockslug |
| Cockatrice / Moonlight cockatrice | Cockathrice |
| Pyrefiend | Flaming pyrelord |
| Pyrelord | Infernal pyrelord |
| Basilisk | Monstrous basilisk |
| Basilisk Knight | Basilisk sentinel |
| Infernal mage | Malevolent mage |
| Bloodveld | Insatiable bloodveld |
| Mutated bloodveld | Insatiable mutated bloodveld |
| Jelly | Vitreous jelly |
| Warped jelly | Vitreous warped jelly |
| Cave horror | Cave abomination |
| Aberrant spectre | Abhorrent spectre |
| Deviant spectre | Repugnant spectre |
| Dust devil | Choke devil |
| Turoth | Spiked turoth |
| Warped terrorbird | Mutated terrorbird |
| Warped tortoise | Mutated tortoise |
| Kurask | King kurask |
| Gargoyle | Marble gargoyle |
| Nechryael / Greater nechryael | Nechryarch |
| Abyssal demon | Greater abyssal demon |
| Dark beast | Night beast |
| Wyrm | Shadow wyrm |
| Drake | Guardian drake |
| Hydra | Colossal hydra |
| Smoke devil | Nuclear smoke devil |
| Araxyte | Dreadborn araxyte |
| Elder custodian stalker | Ancient custodian |
Note: Wyrmlings cannot spawn a Shadow wyrm.
Slayer Caskets
Slayer caskets are a frequent source of additional cash while you complete dangerous-zone Slayer tasks. They do not drop from every on-task monster everywhere—a casket can only roll when all of the following are true:
- You have a valid Slayer assignment.
- The killed NPC matches that assignment.
- The NPC is at least combat level 3.
- The kill happens in a DMM dangerous zone.
| NPC combat level | Dangerous zone outside Wilderness | Wilderness |
|---|---|---|
| 3–35 | 1/22 | 1/16 |
| 36–50 | 1/15 | 1/11 |
| 51–100 | 1/11 | 1/8 |
| 101+ | 1/7 | 1/5 |
Opening a casket gives, in order:
- A 1/250 chance of a Key of Spoils.
- Otherwise a 1/1,000 chance of a random rare Slayer-casket item.
- Otherwise 2,000–10,000 coins. Gold Members receive 15% more coins.
A Key of Spoils opens the Deadman supply chest at the Grand Exchange, next to the rejuvenation pool.
Hidden Drop Tables
DMMPS adds hidden gemstone and Herblore-secondary rolls on top of normal loot. These rolls do not require a Slayer assignment, but they are not global either: they only run on eligible NPC kills inside DMM dangerous zones.
Herblore Secondaries
NPCs of combat level 20 or higher have a 1/12 chance to award 3–12 noted secondaries. Possible rewards include:
- Unicorn horns
- Limpwurt roots
- Red spiders' eggs
- White berries
- Snape grass
- Mort myre fungus
- Wines of Zamorak
- Crushed nests
Uncut Gems
Both the chance and the gem tier scale with the monster's combat level:
| NPC combat level | Hidden gem chance | Possible tier |
|---|---|---|
| 3–35 | 1/15 | Opal, jade, red topaz, sapphire |
| 36–50 | 1/25 | Red topaz, sapphire, emerald, ruby |
| 51–100 | 1/35 | Emerald, ruby, diamond, dragonstone |
| 101+ | 1/40 | Emerald, ruby, diamond, dragonstone |
Monsters of combat level 101 or higher also carry a separate 1/1,500 chance of an uncut onyx.
Blighted Supplies
Certain Wilderness activities—such as revenants, zombie pirates, and their related reward containers—provide blighted food, potions, and spell sacks. These supplies are not exclusive to ordinary Wilderness monster drops, and each item type has its own usage restrictions.
- Blighted food can be eaten throughout DMMPS.
- Blighted spell sacks can be used anywhere outside guarded zones.
- Blighted super restores require you to be in a dangerous zone.